
Reviving a Rotten Orchid with a Simple Yet Powerful Method
Orchids are known for their delicate beauty and resilience, but they are also prone to rot if not properly cared for. If your orchid is suffering from root rot, don’t throw it away just yet! In today’s guide, I will show you how to revive a rotten orchid using a simple yet effective method with just one ‘miracle’ fruit. By following these steps carefully, you can help your orchid recover, grow strong, and even bloom beautifully again.
Step 1: Identifying and Removing Infected Parts
Before starting the revival process, it is crucial to identify which parts of the orchid are affected by rot. If the leaves have turned yellow or brown and are infected with fungus, remove them immediately. Leaving them on the plant can allow the disease to spread further, making recovery more difficult.
Next, inspect the orchid’s roots carefully. Any roots that appear mushy, dark brown, or black should be cut off using sterilized scissors or pruning shears. Removing these damaged roots will prevent the rot from spreading to the healthy portions of the plant. Additionally, check the top portion of the orchid—if it is infected, trim it off as well. After making these cuts, apply a scar-healing glue or a natural antifungal agent like cinnamon powder to the cut areas to protect them from further infection.
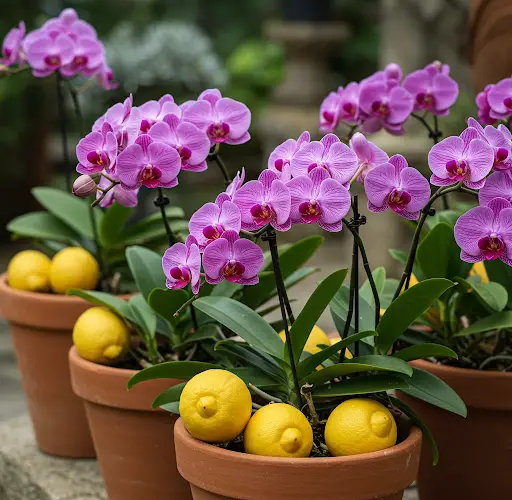
Step 2: Preparing a Lemon Water Solution
Lemon juice is a natural antifungal and antibacterial agent due to its high citric acid content. It helps neutralize bacteria and fungal infections in the orchid roots, promoting healthy growth. To prepare the solution:
-
- Pour 1200 ml of clean water into a pot
-
- Squeeze half a lemon into the water and mix well.
- Soak the orchid’s roots in this lemon water solution for about 30 minutes. This will help eliminate any lingering bacteria and fungi, giving your plant a fresh start.
- After soaking, remove the orchid from the solution and let the roots dry completely in a cool, well-ventilated area.
Step 3: Replanting the Orchid
Once the roots have dried, it’s time to replant the orchid in a new pot with a well-draining growing medium. Follow these steps:
-
- Choose a suitable pot: A breathable plastic or clay pot with drainage holes is ideal for orchids.
- Prepare the potting mix: Use a mix of foam, pine bark, and sphagnum moss. Foam at the bottom provides aeration, pine bark allows proper drainage, and moss helps retain the right amount of moisture.
- Secure the orchid: Place the orchid in the pot, ensuring that the roots are spread out naturally. Cover the roots gently with the growing medium but do not bury the base of the plant too deeply.
- Moisturize the orchid: Lightly mist the plant to help it adjust to its new environment. However, do not overwater at this stage.
Step 4: Providing Essential Nutrients
After two days, it’s time to give the orchid a nutrient boost. Mix 1 ml of Vitamin B1 into 1 liter of clean water and use this solution to wet the orchid’s roots. Vitamin B1 helps stimulate root growth, strengthens the plant’s overall structure, and enhances its ability to absorb nutrients.
Step 5: Monitoring and Encouraging Growth
see next page 💕👇
ADVERTISEMENT
ADVERTISEMENT
